Grooving is a critical operation in CNC lathe machining, essential for creating precise channels and functional features on components.
Whether you’re manufacturing automotive parts, aerospace components, or industrial fittings, grooving plays a key role in ensuring reliable assembly, sealing, and mechanical performance.
In simple terms, grooving on a CNC lathe works by using a specialized cutting tool to remove material and form narrow recesses at exact positions, widths, and depths.
The CNC program controls every step, ensuring accuracy, consistency, and repeatability.
In this article, we’ll explore how grooving works on CNC lathes, the different types of grooves, programming techniques, and the key factors that influence groove quality—from tooling to cutting parameters.
-
Table Of Contents
-
1. How Does Grooving Work on a CNC Lathe?
-
2. What Is Grooving on a CNC Lathe and Why Does It Matter?
-
3. How Does the CNC Lathe Control Grooving Operations?
-
4. What Are the Different Types of Grooving Operations?
-
5. What Steps Are Involved in Performing a Grooving Operation?
-
6. How Do Tool Selection and Geometry Impact Grooving Success?
-
7. Why Are Cutting Parameters Crucial for Grooving Performance?
-
8. How Does Coolant Application Affect Grooving Quality?
-
9. What Are Common Grooving Defects and How Can You Prevent Them?
-
10. How to Program CNC Grooving Using G75 and G74 Cycles?
-
11. Summary

What Is Grooving on a CNC Lathe and Why Does It Matter?
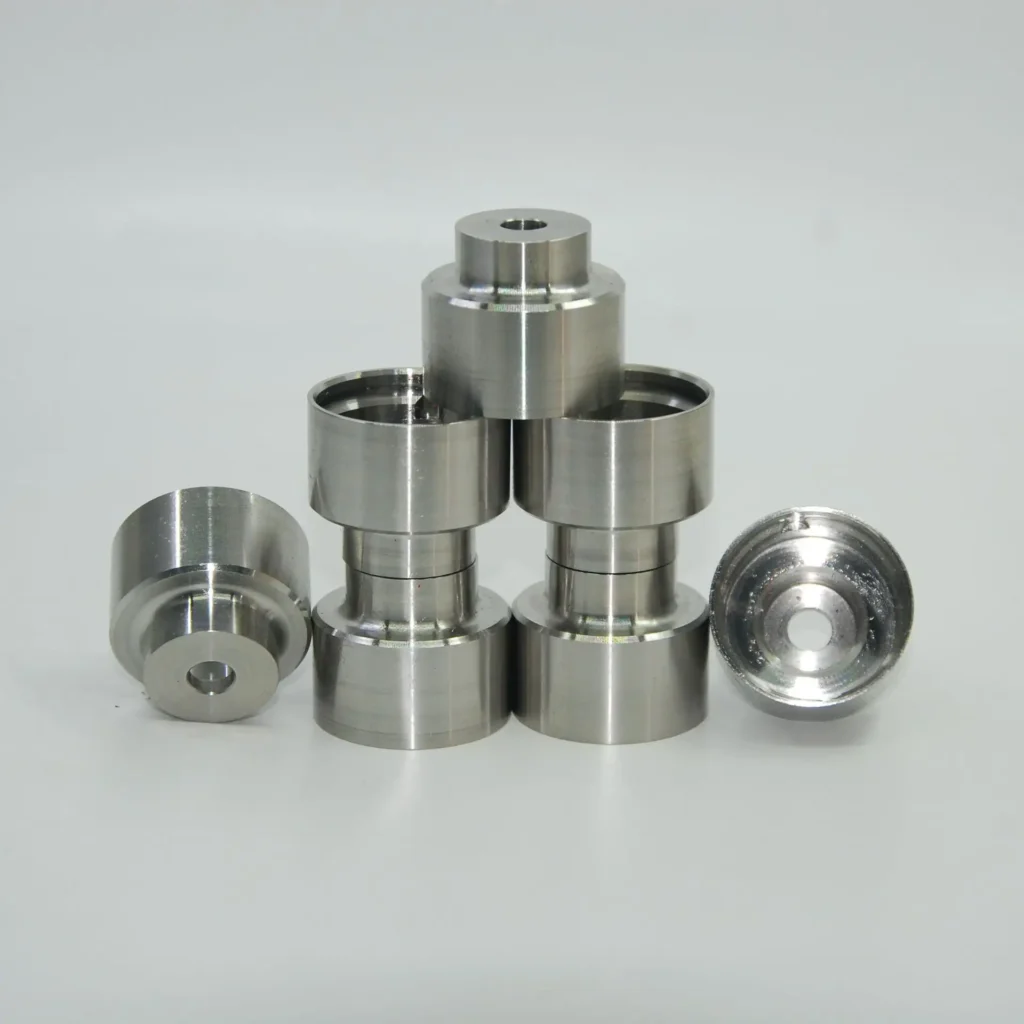
Grooving on a CNC lathe refers to the process of cutting narrow recesses or channels into a rotating workpiece using specially shaped cutting tools.
These grooves serve functional purposes such as:
• Accommodating O-rings, snap rings, or retaining rings
• Providing stress-relief to control crack initiation
• Creating assembly features like lock-ring seats or parting lines
Precision grooving ensures mechanical integrity, ease of assembly, and proper sealing—especially in parts that demand high dimensional accuracy.
In industries like automotive and aerospace, even minor groove defects can cause leaks, mechanical failure, or costly rework. That’s why understanding grooving techniques is crucial for manufacturers aiming for consistent quality.
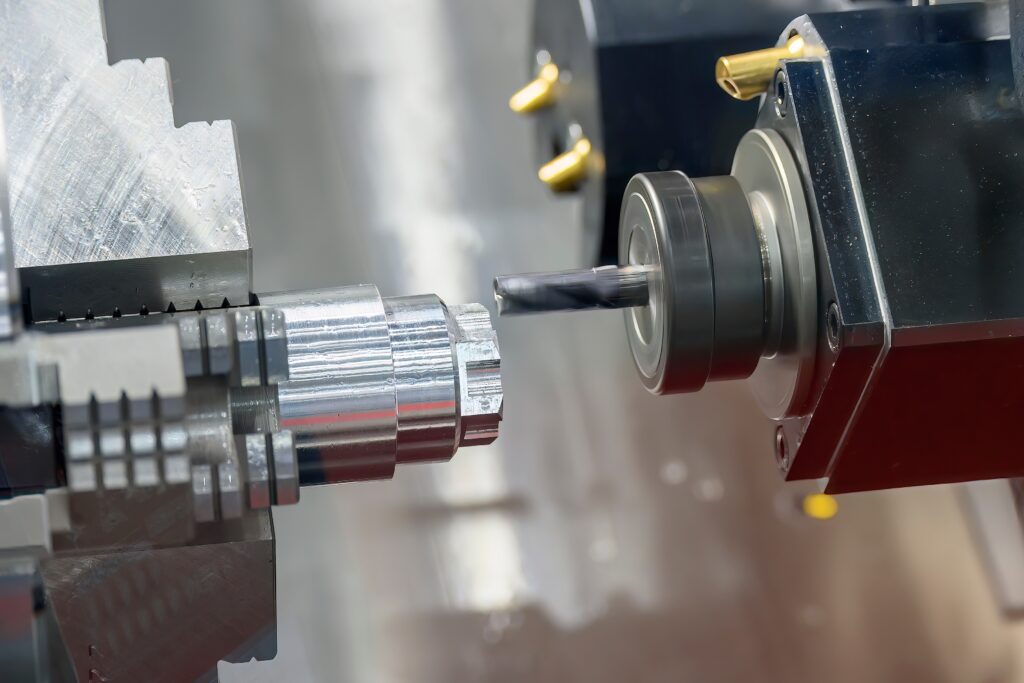
How Does the CNC Lathe Control Grooving Operations?
Grooving operations are programmed and controlled by the CNC system using G-code instructions that define:
• Tool path and position: Where and how the tool engages with the workpiece
• Depth and width of cut: Controlled by tool geometry and programmed values
• Feed rate and spindle speed: Optimized for the material and groove type
• Grooving cycles: Standard cycles like G75 (external) and G74 (internal) automate repetitive cuts
The CNC lathe’s precision ensures that each groove is machined to exact specifications, minimizing human error and maximizing repeatability.
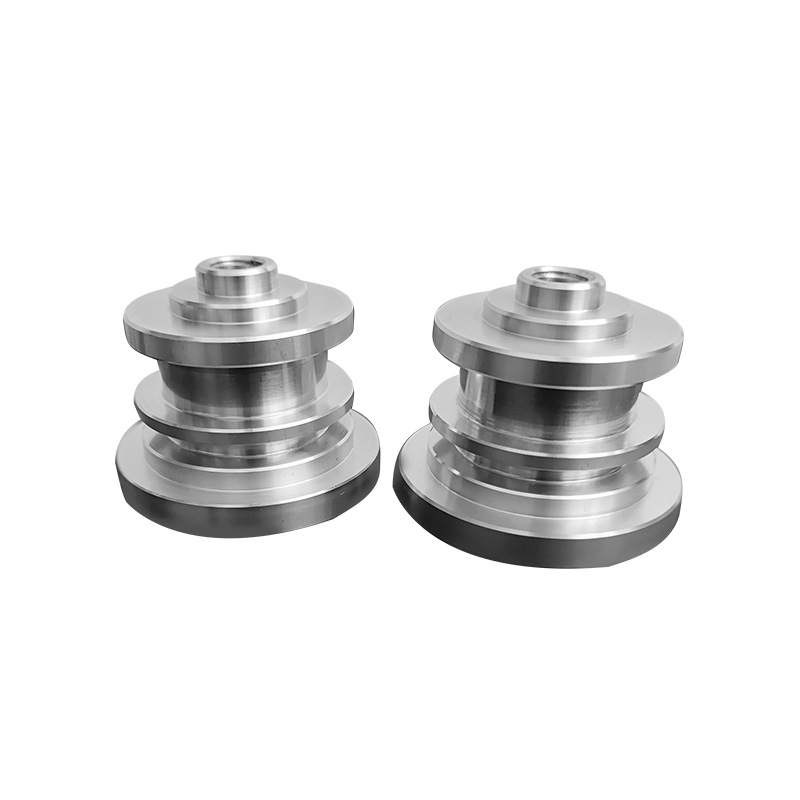
What Are the Different Types of Grooving Operations?
Choosing the right grooving method depends on the part design and function. The main types include:
External Grooving
• Cuts a groove on the outer diameter (OD) of the part.
• Common for O-ring seats, snap-ring grooves, or stress-relief features.
Internal Grooving
• Machines grooves inside a bore or hole.
• Used for internal retaining rings, seals, or assembly features.
Face Grooving
• Creates a groove on the face of the part, perpendicular to its axis.
• Often used for seating washers or retaining elements.
Each type requires specialized tools and tool holders, with careful consideration of chip evacuation and rigidity.
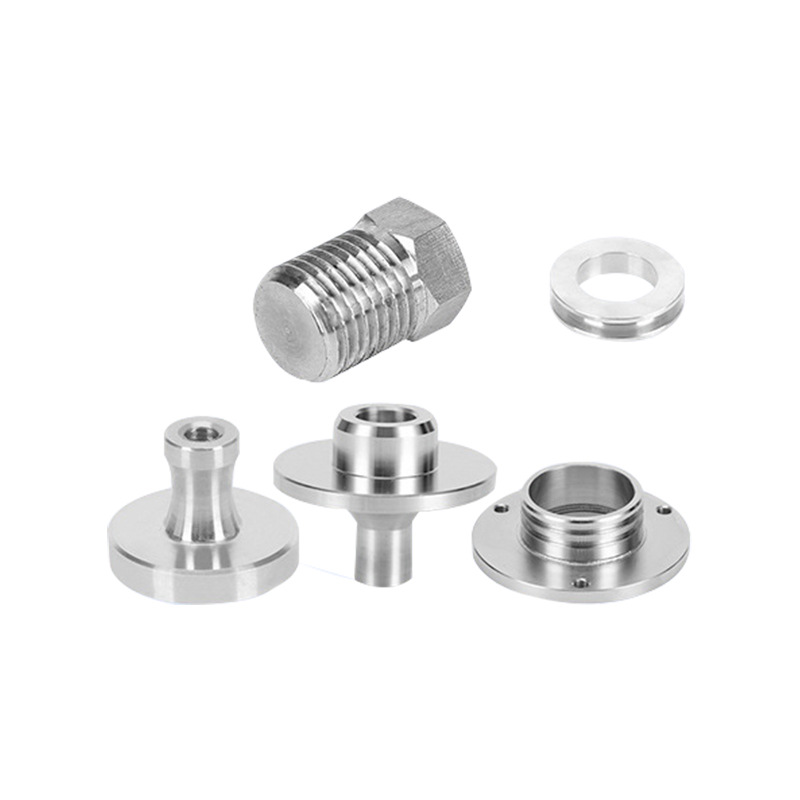
What Steps Are Involved in Performing a Grooving Operation?
To achieve accurate and defect-free grooves, follow these key steps:
1. CNC Programming:
Define the groove position, depth, and width using correct G-codes (G75/G74).
2. Machine Setup:
Install the appropriate grooving tool with correct geometry and secure the workpiece.
3. Tool Alignment and Offsets:
Set precise tool offsets to control cutting depth and avoid dimensional errors.
4. Parameter Selection:
Optimize spindle speed, feed rate, and depth of cut based on material and groove type.
5. Cut Execution:
The CNC executes the programmed cycle, cutting the groove accurately.
6. Inspection:
Measure groove dimensions using calipers, micrometers, or vision systems to ensure conformance.
How Do Tool Selection and Geometry Impact Grooving Success?
The choice of grooving tool directly influences quality and efficiency:
• Tool Width: Must match groove specifications to avoid undercutting or overcutting.
• Tip Radius: Impacts stress distribution and surface finish.
• Material: Carbide inserts are common for durability and heat resistance.
• Chip Breakers: Essential for controlling chip flow, especially in deep or narrow grooves.
• Rigidity: A stable toolholder prevents vibration (chatter) and ensures dimensional accuracy.
Tool wear must also be monitored to avoid burrs, poor finishes, or out-of-tolerance parts.
Why Are Cutting Parameters Crucial for Grooving Performance?
Optimizing cutting parameters is key to achieving consistent results:
Parameter | Role in Grooving |
Cutting Speed | Affects heat generation and tool life |
Feed Rate | Influences surface finish and chip evacuation |
Depth of Cut | Impacts tool load, chip size, and cycle time |
Coolant Flow | Reduces heat, flushes chips, and improves finish |
Incorrect parameters can lead to chatter marks, burrs, premature tool wear, or dimensional inaccuracies.
How Does Coolant Application Affect Grooving Quality?
Proper coolant application plays three essential roles:
1. Heat Control: Prevents overheating that can damage both the tool and workpiece.
2. Lubrication: Reduces friction, enhancing surface finish.
3. Chip Evacuation: Removes chips that can cause surface damage or tool breakage.
Flood coolant or high-pressure coolant systems are often recommended for deep grooves.
What Are Common Grooving Defects and How Can You Prevent Them?
Here’s a quick overview of typical defects and solutions:
Defect | Cause | Prevention |
Chatter Marks | Tool vibration | Use rigid setup, correct feed, balanced speed |
Burr Formation | Worn tools or incorrect parameters | Sharp inserts, correct cutting conditions |
Dimensional Errors | Tool deflection, wrong offsets | Accurate setup, minimal overhang |
Chip Jamming | Poor chip control or insufficient coolant | Use chip breakers, increase coolant flow |
Early detection and preventive action ensure smoother production and higher yield.
How to Program CNC Grooving Using G75 and G74 Cycles?
Many modern CNC lathes support canned cycles for efficient grooving:
G75—External Grooving Cycle
• Automates repetitive cuts on external diameters.
• Allows for incremental or absolute positioning.
G74—Internal Grooving Cycle
• Used for grooves inside bores or holes.
• Controls depth, feed, and finishing passes.
Proper cycle programming ensures consistent results with minimal operator intervention.
Conclusion:
Grooving on a CNC lathe may seem straightforward, but producing consistent, high-quality results requires careful attention to design, tooling, programming, and process control.
Key Takeaways:
• Choose the right groove type and tool geometry for your application.
• Optimize cutting parameters to balance speed, finish, and tool life.
• Apply coolant effectively to control heat and manage chips.
• Leverage CNC programming cycles for accuracy and efficiency.
• Inspect grooves thoroughly to catch defects early.
By following these best practices, manufacturers can avoid common grooving issues, improve part quality, and extend tool life—making grooving a reliable, value-adding operation in any CNC machining project.